Installing smart film can seem like a challenge, but it’s easier than you think with the right guidance. Whether you’re upgrading your home, office, or a commercial space, smart film brings modern functionality and sleek design to your windows.
This innovative technology allows you to control privacy and light with the touch of a button. Our simple, step-by-step guide will help you achieve professional results with ease.
You don’t have to be an expert to get started—just follow along, and you’ll be done in no time. Learn how to install Smart Tint effectively and transform your space today.
For detailed instructions, visit Smart Tint’s guide here.
What Is Smart Film and Why You Should Use It
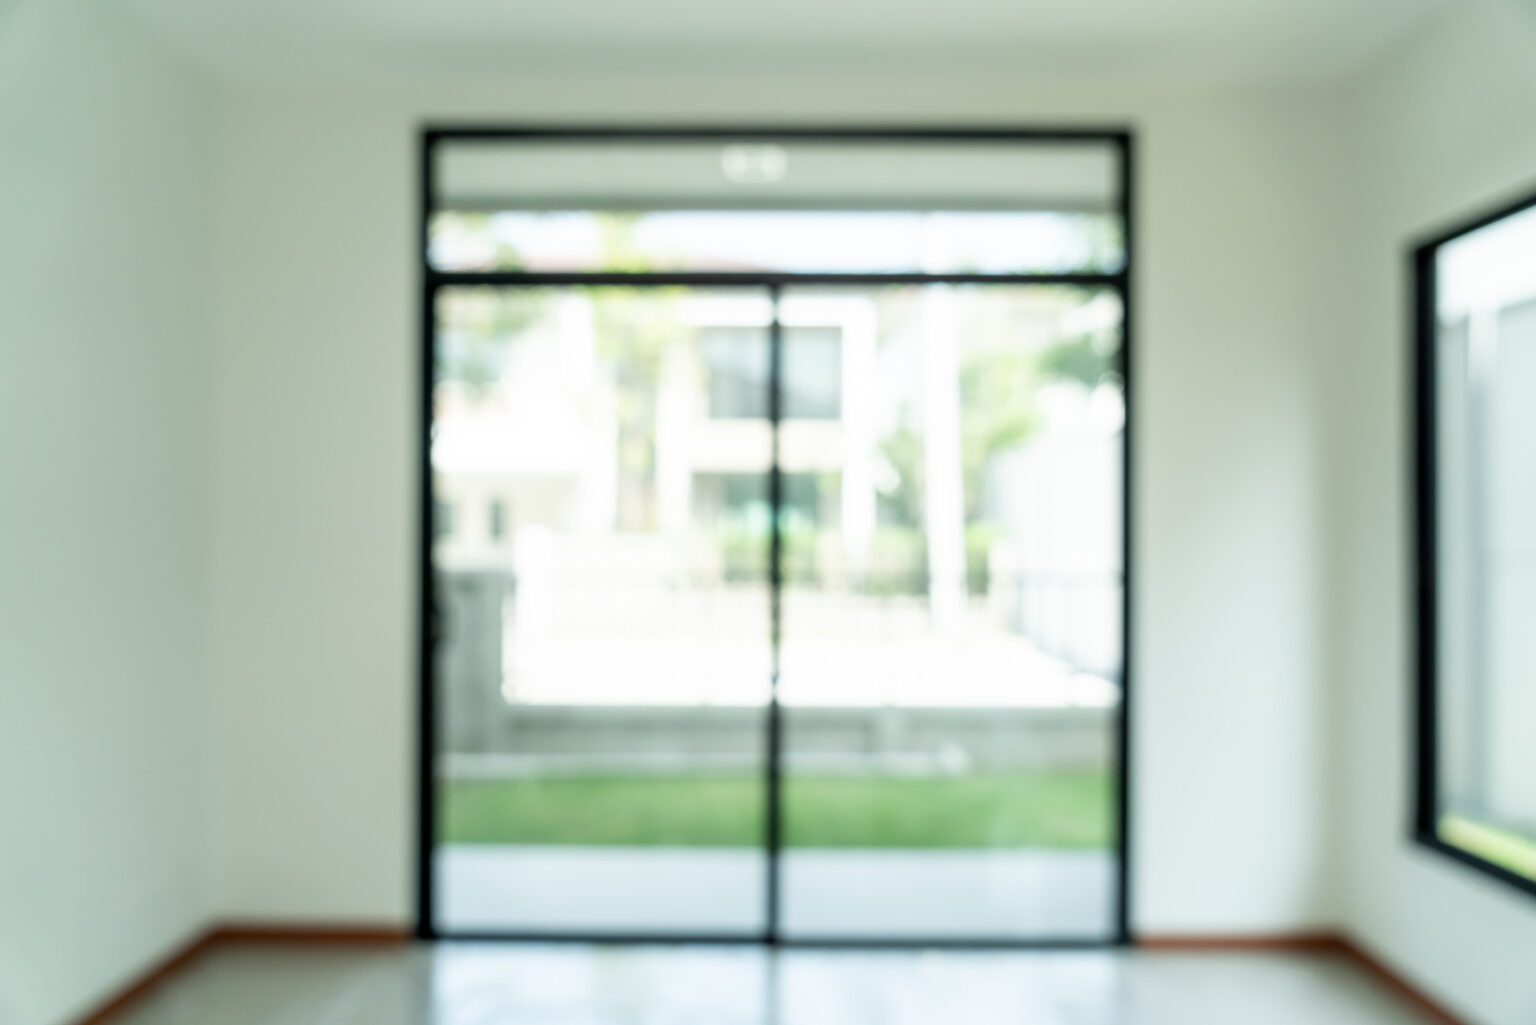
Smart film, also known as switchable or privacy film, is a thin, adhesive layer applied to glass surfaces. It uses advanced liquid crystal technology to change its opacity through an electrical charge. Essentially, it can toggle between clear and opaque states, offering you the ability to maximize natural light while enjoying privacy when you need it.
Key Benefits of Smart Film
- Privacy On Demand: Instantly switch between transparent and frosted modes for total flexibility.
- Energy Efficiency: It reduces heat gain and UV radiation, keeping your space cooler and protecting furnishings from sun damage.
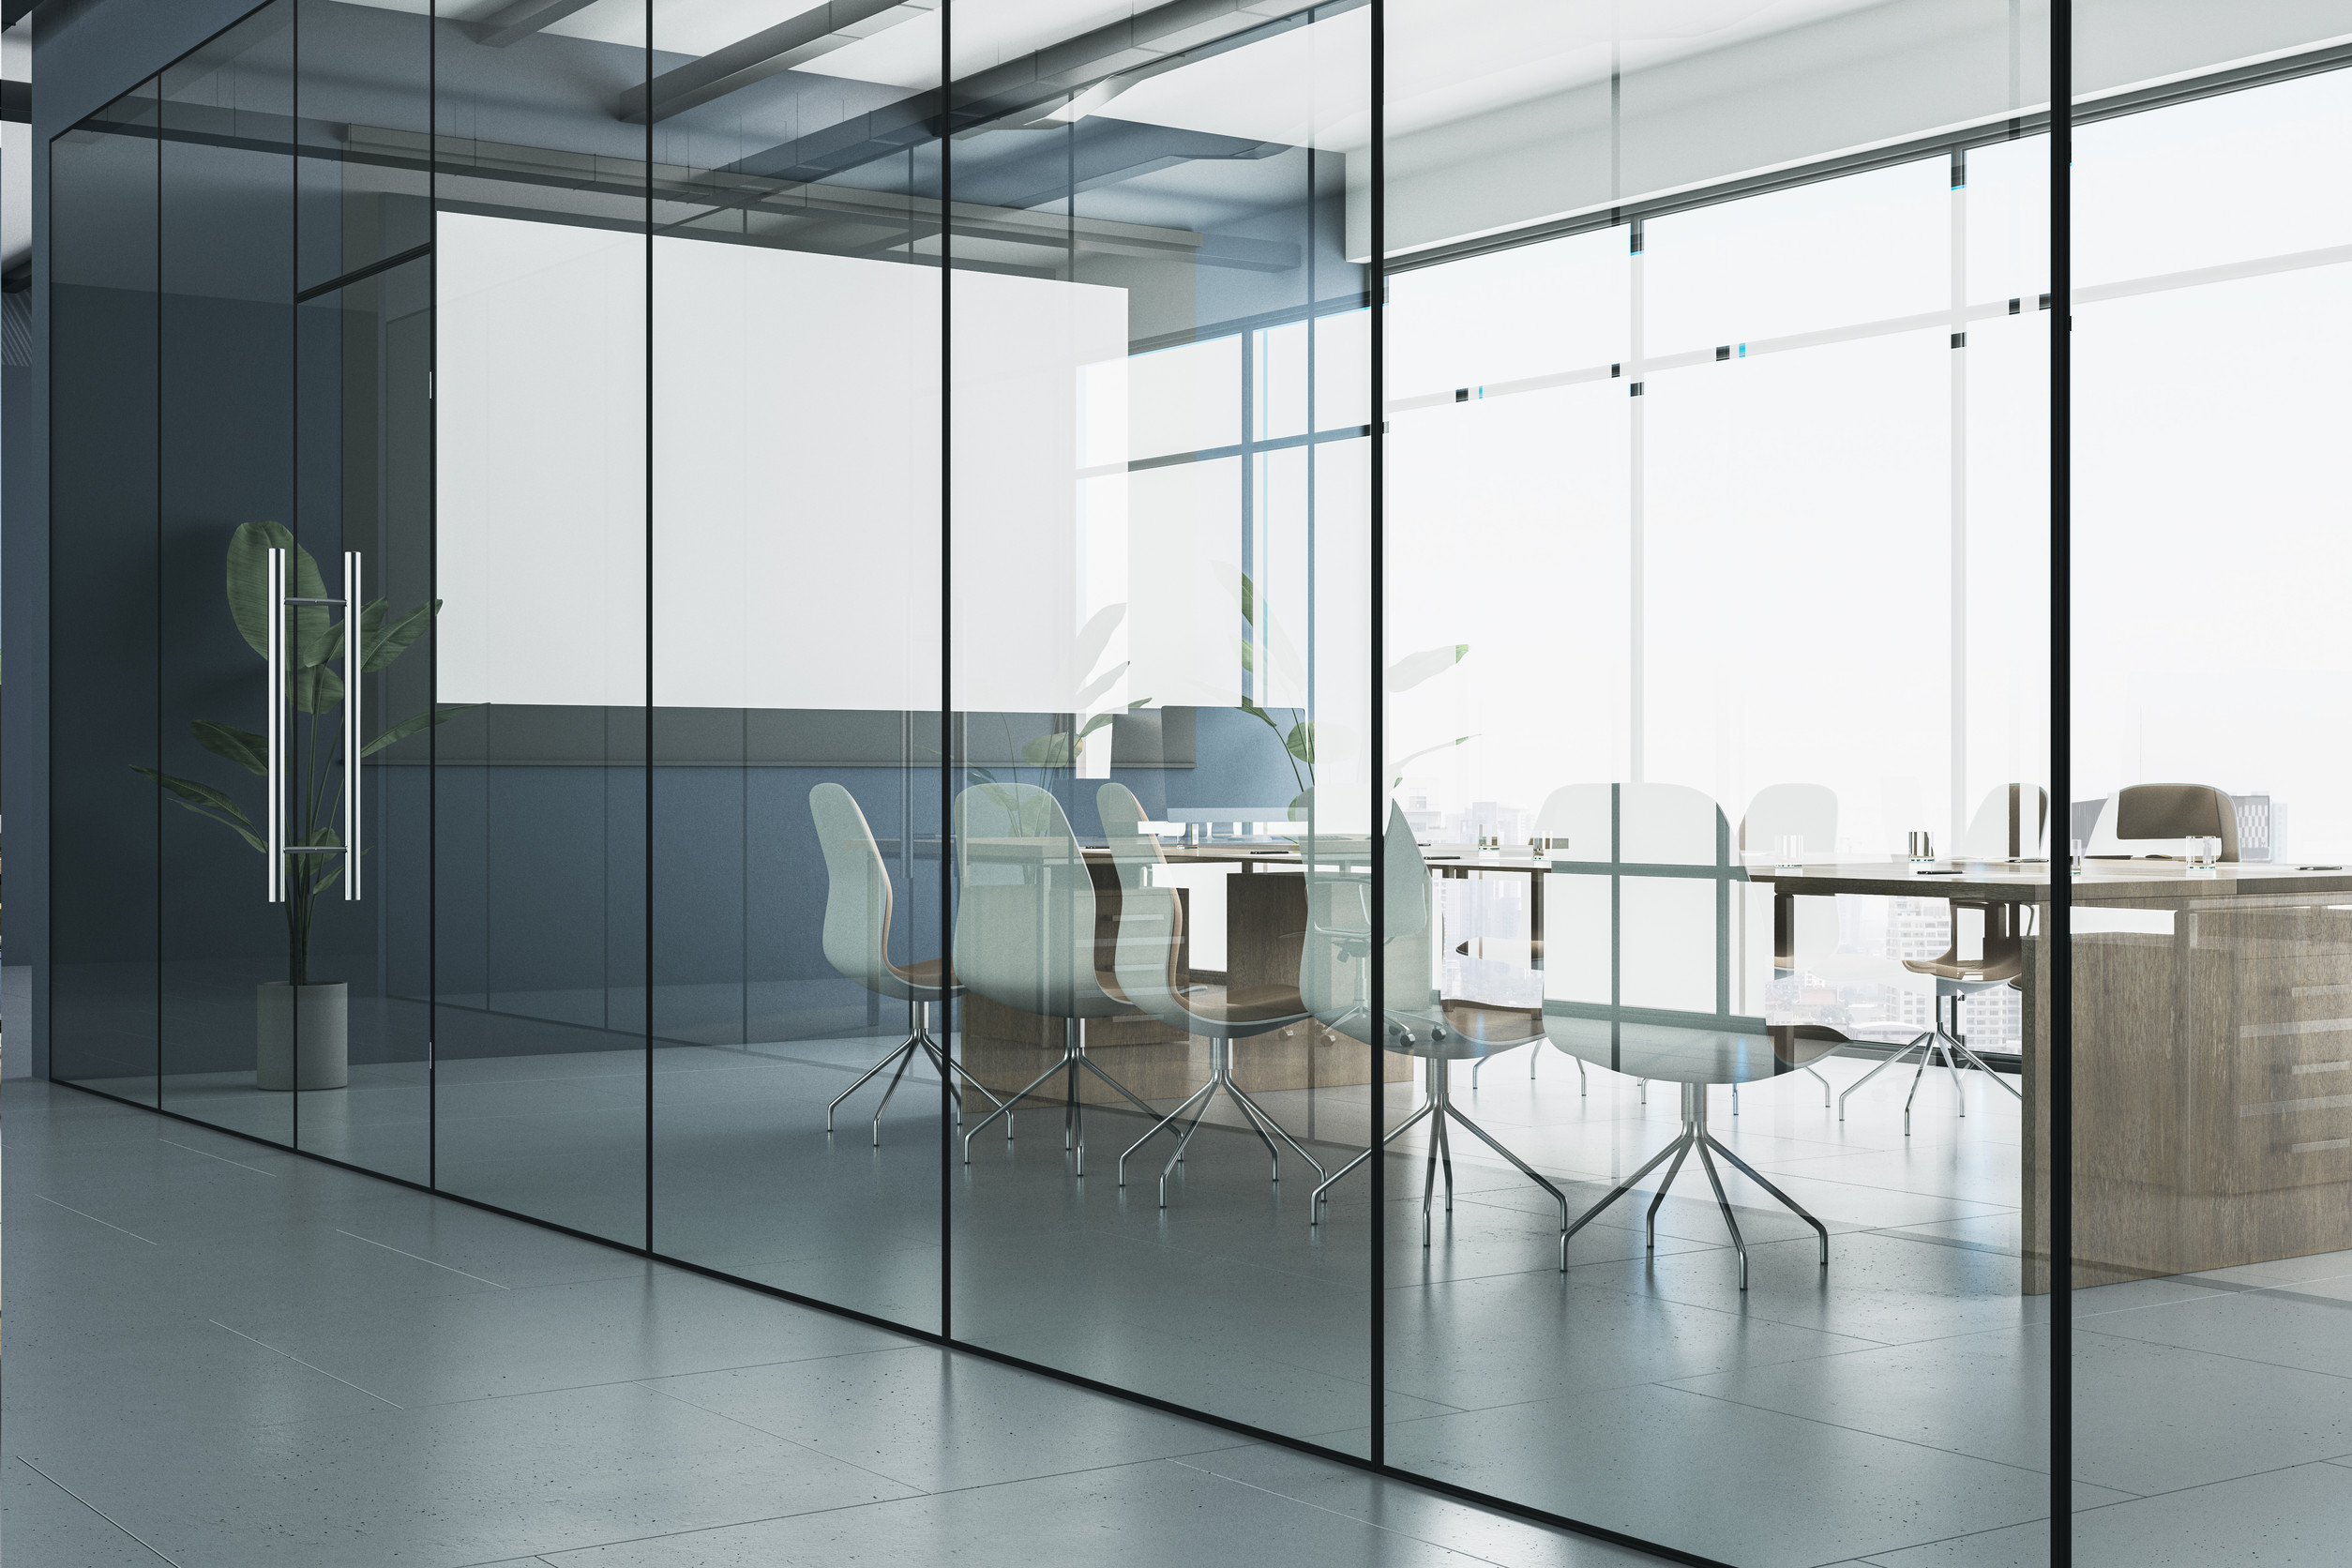
- Easy Customization: Perfect for modern homes, boardrooms, medical facilities, and storefronts, as it can be tailored to almost any glass shape or size.
- Enhanced Security: Acts as an added layer of protection by holding the glass together in case of breakage.
Feeling inspired? Next, we’ll guide you through preparing for the installation process.
Pre-Installation Preparation
Proper preparation is crucial to ensure a smooth and effective smart film installation. Here’s what you need to do before applying the film.
Step 1: Inspect the Glass Surface
Examine the glass surface where the smart film will be installed. Make sure it’s:
- Clean and free from debris: Dust and smudges can create air bubbles or reduce adhesion.
- Damage-free: Cracks or chipped glass can compromise the installation.
Step 2: Measure Accurately
Take precise measurements of the glass to ensure the smart film matches the size perfectly.
Pro tip: Use a tape measure and allow for a margin (about 1-2 mm smaller than the glass surface) to prevent overlapping, which can cause peeling.
Step 3: Create a Dust-Free Environment
Installation in a dust-free environment minimizes imperfections:
- Vacuum nearby surfaces.
- Consider using an air purifier to keep particles to a minimum.
By setting the stage correctly, you’ll save yourself from headaches down the line.
Tools and Materials Needed
Having the right tools on hand is half the battle. For your smart film installation, gather the following:
Tools:
- Utility knife or precision cutter
- Measuring tape
- Squeegee or application card
- Spray bottle
- Microfiber cloth
- Heat gun or hairdryer (for better adhesion)
Materials:
- Smart film of your choice
- Neutral cleaning solution (avoid harsh chemicals)
- Installation adhesive (if not pre-applied on the film)
Now that you’re equipped, it’s time to roll up your sleeves and install your smart film.
Step-by-Step Installation Guide
- Start by thoroughly cleaning the surface where the smart film will be applied using a microfiber cloth and a neutral cleaning solution. Ensure the surface is free of dust, grease, and debris.
- Measure the surface accurately and cut the smart film to the required dimensions using a utility knife or precision cutter.
- Spray the adhesive side of the smart film lightly with a water solution for easier adjustment during application.
- Carefully position the smart film on the surface, aligning it as needed. Use a squeegee or application card to smooth out any bubbles or wrinkles.
- If additional adhesion is required, use a heat gun or hairdryer on a low setting to activate the adhesive and ensure proper bonding.
- Trim any excess film around the edges for a clean finish.
- Allow the film to set and adhere completely according to the manufacturer’s recommended time frame before testing its functionality.
Common Mistakes to Avoid
1. Rushing the Application
Skipping steps or rushing the process can lead to wrinkles or bubbles. Take your time to ensure everything looks professional.
2. Uneven Cutting
An uneven edge can affect both aesthetics and adhesion. Always double-check measurements before cutting.
3. Ignoring Cleaning
Failing to clean the surface properly can trap dust and dirt, resulting in peeling or compromised clarity.
4. DIY Electrical Setup Without Proper Knowledge
If your smart film requires electrical wiring and you’re not confident, consult an expert. Improper installation can lead to malfunctions or electrical hazards.
Avoiding these mistakes will help you achieve long-lasting, professional results.
Transform Your Space with Smart Film Today
Smart film is more than just a technological marvel—it’s a versatile solution that brings privacy, energy efficiency, and modern sophistication to your space. Whether you opt for DIY or professional installation, following the proper steps ensures maximum durability and enjoyment.
Need assistance or still have questions about smart film? Reach out to the Smart Tint team—our experts are here to help. From product selection to installation tips, we’ve got you covered.